- Published on
Build A Tailwind CSS form validation With Tailwind CSS Like A Pro With The Help Of These 6 Tips
- What is Tailwind CSS?
- The description of Tailwind CSS form validation UI component
- Why use Tailwind CSS to create a Tailwind CSS form validation UI component?
- The preview of Tailwind CSS form validation UI component
- The source code of Tailwind CSS form validation UI component
- How to create a Tailwind CSS form validation with Tailwind CSS?
- Step 1: Create a form element
- Step 2: Create input fields
- Step 3: Create labels for input fields
- Step 4: Create a submit button
- Step 5: Display error messages
- Step 6: Add custom CSS if necessary
- Conclusion
Tailwind CSS is a popular utility-first CSS framework that allows developers to build responsive and customizable user interfaces quickly. It provides a set of pre-defined classes that can be used to style HTML elements without writing any custom CSS. In this article, we will explore how to use Tailwind CSS to create a form validation UI component.
What is Tailwind CSS?
Tailwind CSS is a utility-first CSS framework that provides a set of pre-defined classes that can be used to style HTML elements. It is designed to be highly customizable and allows developers to build responsive and modern user interfaces quickly.
The description of Tailwind CSS form validation UI component
A form validation UI component is used to validate user input in a form. It provides feedback to the user if the input is incorrect or incomplete. The component typically consists of a form with input fields and a submit button. When the user submits the form, the component checks the input and displays an error message if necessary.
Why use Tailwind CSS to create a Tailwind CSS form validation UI component?
Tailwind CSS provides a set of pre-defined classes that can be used to style the form validation UI component quickly. It also allows developers to customize the component easily by adding or modifying classes. This makes it an ideal choice for building a form validation UI component.
The preview of Tailwind CSS form validation UI component
To create a Tailwind CSS form validation UI component, we will use the following classes:
form- to create the form elementinput- to create the input fieldslabel- to create labels for the input fieldsbtn- to create the submit buttontext-red-500- to display error messages in red color
Free download of the Tailwind CSS form validation's source code
The source code of Tailwind CSS form validation UI component
To create a form validation UI component with Tailwind CSS, we will use the following HTML and CSS code:
<form class="max-w-md mx-auto bg-white p-8 rounded-lg shadow-md">
  <div class="mb-6">
    <label class="block text-gray-700 font-bold mb-2" for="name">
      Name
    </label>
    <input
      class="appearance-none border rounded w-full py-2 px-3 text-gray-700 leading-tight focus:outline-none focus:shadow-outline"
      id="name"
      type="text"
      placeholder="John Doe"
    />
  </div>
  <div class="mb-6">
    <label class="block text-gray-700 font-bold mb-2" for="email">
      Email
    </label>
    <input
      class="appearance-none border rounded w-full py-2 px-3 text-gray-700 leading-tight focus:outline-none focus:shadow-outline"
      id="email"
      type="email"
      placeholder="johndoe@example.com"
    />
  </div>
  <div class="mb-6">
    <label class="block text-gray-700 font-bold mb-2" for="password">
      Password
    </label>
    <input
      class="appearance-none border rounded w-full py-2 px-3 text-gray-700 leading-tight focus:outline-none focus:shadow-outline"
      id="password"
      type="password"
      placeholder="********"
    />
  </div>
  <div class="flex items-center justify-between">
    <button
      class="bg-blue-500 hover:bg-blue-700 text-white font-bold py-2 px-4 rounded focus:outline-none focus:shadow-outline"
      type="button"
    >
      Sign In
    </button>
    <p class="text-red-500 text-xs italic">Error message goes here</p>
  </div>
</form>
/* No custom CSS is required */
<!-- This is an example component -->
<div class="max-w-2xl mx-auto">
<div class="mb-6">
<label for="username-success" class="block mb-2 text-sm font-medium text-green-700 dark:text-green-500">Your name</label>
<input type="text" id="username-success" class="bg-green-50 border border-green-500 text-green-900 placeholder-green-700 text-sm rounded-lg focus:ring-green-500 focus:border-green-500 block w-full p-2.5 dark:bg-green-100 dark:border-green-400" placeholder="Bonnie Green">
<p class="mt-2 text-sm text-green-600 dark:text-green-500"><span class="font-medium">Alright!</span> Username
available!</p>
</div>
<div>
<label for="username-error" class="block mb-2 text-sm font-medium text-red-700 dark:text-red-500">Your name</label>
<input type="text" id="username-error" class="bg-red-50 border border-red-500 text-red-900 placeholder-red-700 text-sm rounded-lg focus:ring-red-500 focus:border-red-500 block w-full p-2.5 dark:bg-red-100 dark:border-red-400" placeholder="Bonnie Green">
<p class="mt-2 text-sm text-red-600 dark:text-red-500"><span class="font-medium">Oops!</span> Username already
taken!</p>
</div>
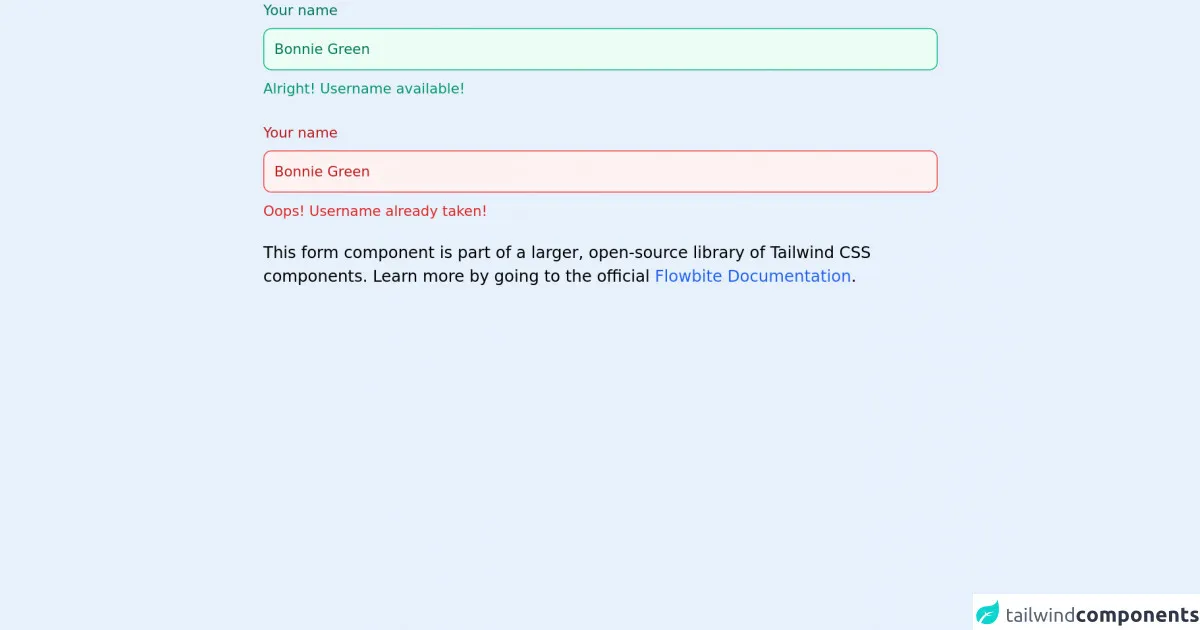
<p class="mt-5">This form component is part of a larger, open-source library of Tailwind CSS components. Learn more
by going to the official <a class="text-blue-600 hover:underline"
href="https://flowbite.com/docs/getting-started/introduction/" target="_blank">Flowbite Documentation</a>.
</p>
</div>
How to create a Tailwind CSS form validation with Tailwind CSS?
To create a Tailwind CSS form validation UI component, follow these steps:
Step 1: Create a form element
Use the form class to create a form element.
<form class="max-w-md mx-auto bg-white p-8 rounded-lg shadow-md">
  <!-- Form elements go here -->
</form>
Step 2: Create input fields
Use the input class to create input fields.
<input
  class="appearance-none border rounded w-full py-2 px-3 text-gray-700 leading-tight focus:outline-none focus:shadow-outline"
  id="name"
  type="text"
  placeholder="John Doe"
/>
Step 3: Create labels for input fields
Use the label class to create labels for input fields.
<label class="block text-gray-700 font-bold mb-2" for="name">
  Name
</label>
Step 4: Create a submit button
Use the btn class to create a submit button.
<button
  class="bg-blue-500 hover:bg-blue-700 text-white font-bold py-2 px-4 rounded focus:outline-none focus:shadow-outline"
  type="button"
>
  Sign In
</button>
Step 5: Display error messages
Use the text-red-500 class to display error messages in red color.
<p class="text-red-500 text-xs italic">Error message goes here</p>
Step 6: Add custom CSS if necessary
If you need to customize the form validation UI component further, you can add custom CSS to the existing classes or create new classes.
Conclusion
In this article, we have explored how to use Tailwind CSS to create a form validation UI component. We have learned how to use pre-defined classes to style the component quickly and how to customize it further by adding or modifying classes. With these tips, you can create a form validation UI component with Tailwind CSS like a pro.